UPDATE: 2013 - Robotslayer Paperback and iOS app have since become available!
Interview with fellow microscopist/illustrator, Vince Kamp
Interview with fellow microscopist/illustrator, Vince Kamp
I begin with a call-out to the world-renowned microscope stage developers: Linkam Scientific. Many industries require the ability to accurately perturb material or biological specimens with temperature, shear, tensile stress, exposure to radiation, humidity, etc.; and the Linkam crew enables viewing of microstructure via optical microscopy and many spectroscopic methods while doing so. Rheologists and biologists alike adore their fine craftsmanship. Linkam's products are available in the U.S. from many dealers including the McCrone Research Center (Walter McCrone was a famous "chemical microscopist" responsible for analyzing the pigments within the Shroud of Turin). Check out the Linkam online TV channel for more:
 |
| LinkamTV |


SEL: Vince, how do you construct your paintings?
VK: As far as my process is concerned, well I sketch everything in pencil and then scan and import into PS. I block in background colour and then block in my characters, I work from dark to light and use only one brush, a sort of splatter brush that mimics a traditional brush, set to 90% opacity and use pressure sensitivity on my tablet (wacom cintiq, 12") [SEL: Cripes! I want one of those!]. I have messed around with water based colouring pencils and oil pastels but not for my online stuff.
Side bar: This mixed media approach of (1) sketching, (2) scaning, (3) digitally coloring is getting popular.
So here goes another call out to the friendly Brits. They have an entire professional magazine dedicated to like artists; and it's rooted in fnatasy and sci-fi art. Check out the ImagineFX website (their magazines are distributed in Barnes & Noble too).
- ImagineFX example tutorial, from sketch-to-color in PS
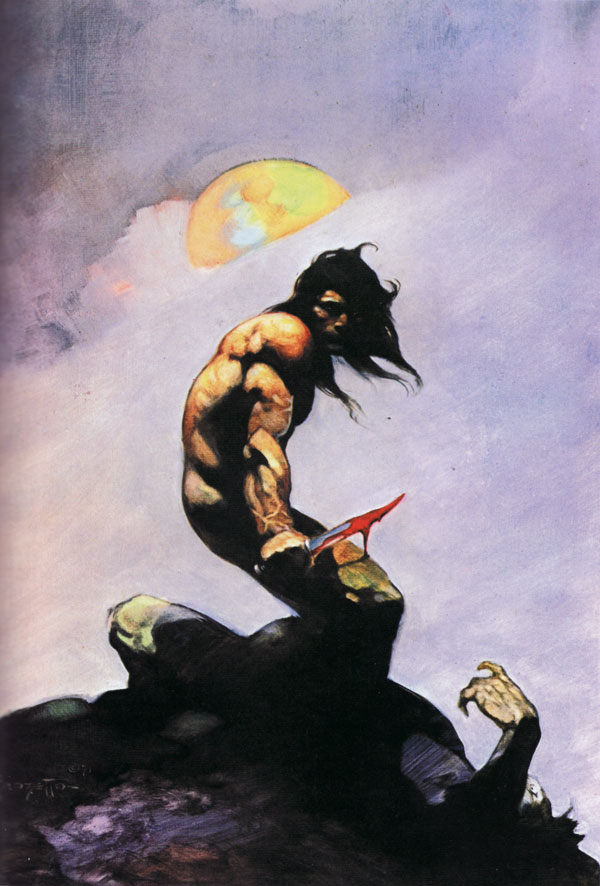
- Death Dealer tutorial
- Other ImagineFX PDF Workshops
 |
| ImagineFX Tutorial |
SEL: You are too humble for words, and your sarcasm is thick...but delivery dry (especially via email). Please clarify how you get your digital colors to look like real paint.
VK: I'm heavily influenced by traditional painting techniques and though I'm completely untrained and don't know what I'm doing [SEL: UK humor?], the books I study almost exclusively focus on light and colour in oil painting. So I guess I'm saying my pics may not look so digital because I try to paint in a traditional way of using layers of paint and blending. I almost never use all the various tweaking filters in PS as I would love to one day have the time to paint properly on canvas. I don't want to rely on digital tools to get the look I want. If I ever get round to being able to create a beautiful oil painting I think I would feel like I could really exploit everything in PS to produce much better pictures, but I would like to earn that right by studying all the fundamentals first. Understanding colour and light is just so fascinating and I don't believe I've even scratched the surface, it's insanely frustrating.SEL: Your style is perfect for a kid's book, I can't wait to see how Leo the Robot Slayer emerges. Does any work inspire this style?
VK: Even though my pics are all cartooney I love Vermeer and Rembrandt and many of the more obscure post renaissance painters from in and around my Dad's village in Holland. I know I'm waffling but I thought I would give you an idea of how I think when I'm colouring my pics as the process itself is really very simple. One brush, 90% opacity. If you haven't already, check out James Gurney's light and color http://www.amazon.co.uk/Color-Light-Guide-Realist-Painter/dp/0740797719. By the way, the comment that my pictures don't look digital is probably the greatest compliment I have received so far, as that is ultimately what I'm desperately trying to achieve.


